Segment Anything is a segmentation algorithm created by Meta Research.
In order to try and make segmentation of medical images available to UK Hospital staff, a web interface which allows for the layperson to interact with segmentation should be utilized.
Meta Research provided a sample web interface which precompiled segmentations automatically, but did not feature their correction or manual segmentation features. From there, however, the open source community began to tinker and we now have Segment-Anything-WebUI which features a more robust toolset for the segmentation of images in the browser without needed to precompile any of the segmentations for view. Additionally, it allows you to upload local files to be segmented, then save the segmentations as JSON objects. This repository was the basis of the version we have developed at the Institute for Biomedical Informatics.
Accessing the Application
The web application is available in two forms.
The first form is through the hub site, which is hosted on University of Kentucky systems and is intended to assist in the annotation of medical images as well as the training of more useful and impressive model checkpoints for Segment Anything which will improve annotation with the goal of automatic or single-click annotation.
The second form is downloading and building the repository on your own local machine. Instructions are available in the repository readme for building and running the site.
How It Works
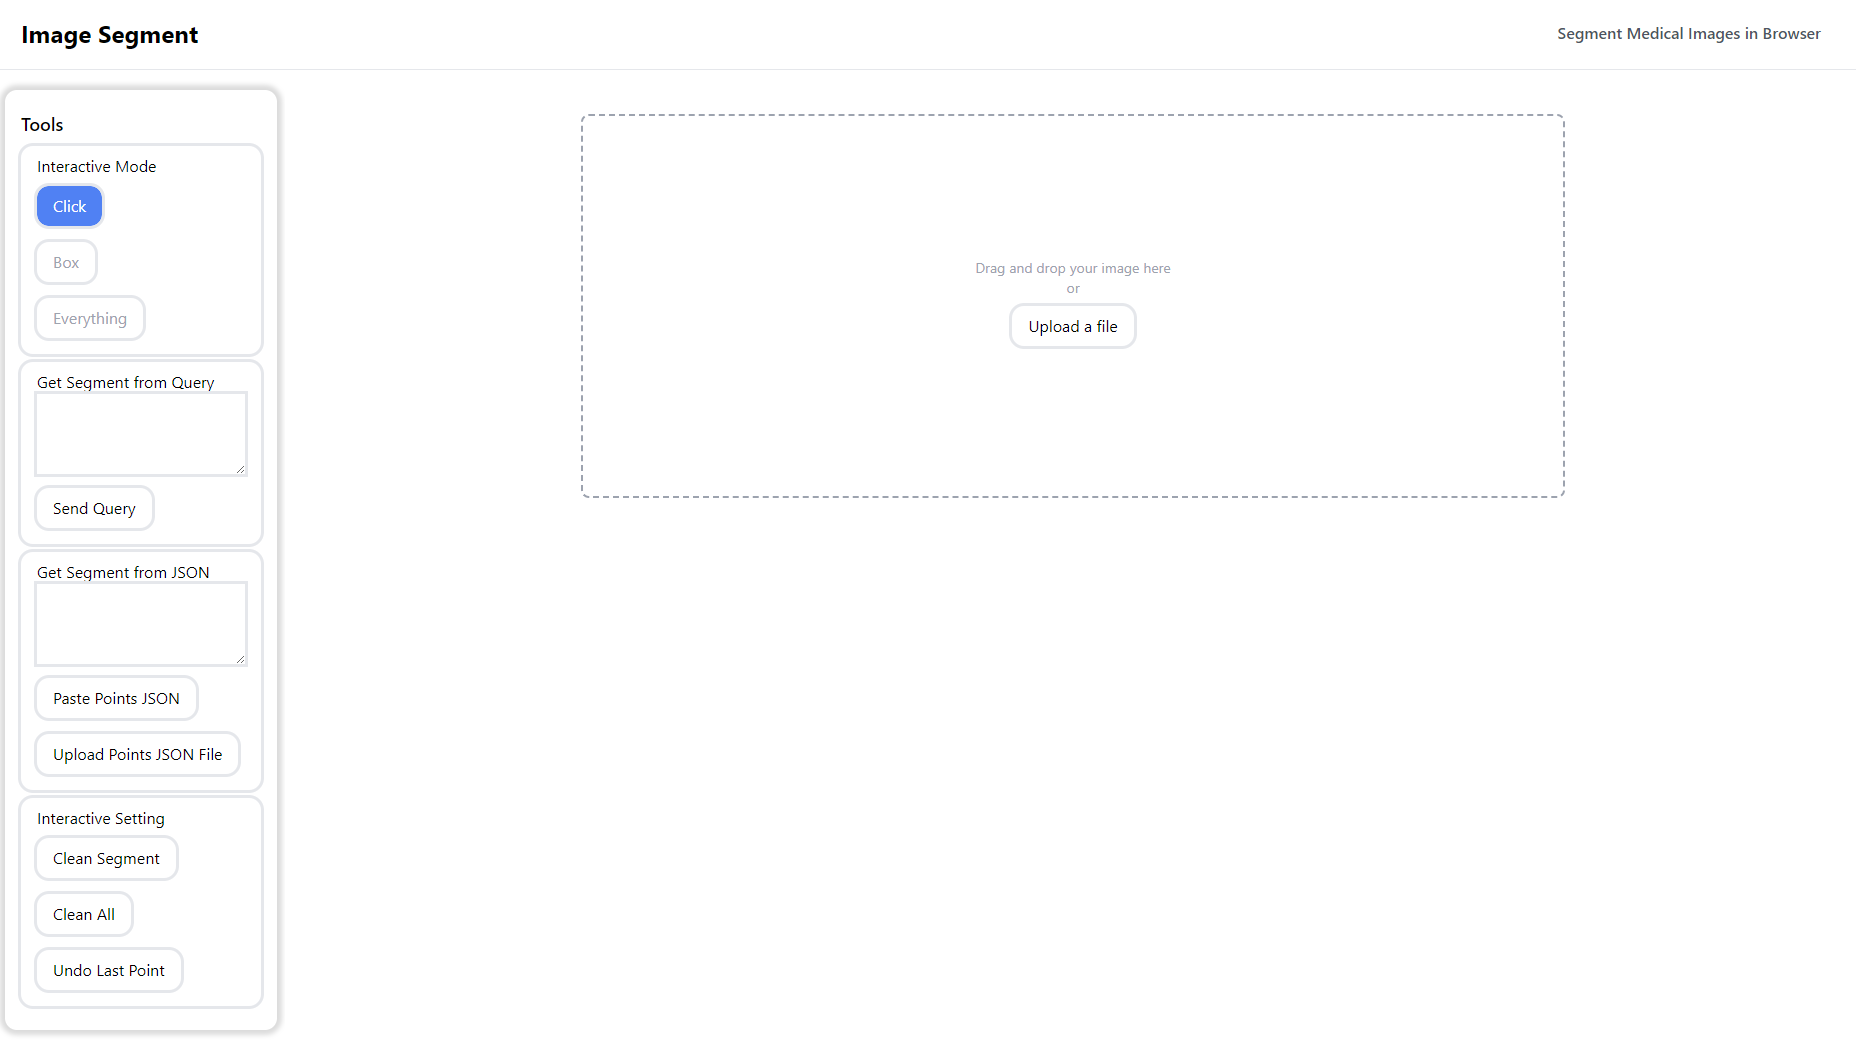
Upload A File: opens a file browser and allows you to upload an image to segment. The image must meet the following requirements: The image must be at least 1024 pixels long. The image cannot exceed 1048576 bytes. The image must be in a standard image format (jpeg, png, etc.). All other options are unavailable until an image is uploaded.
Upon uploading an image, we see new choices.
Above the Image We See:
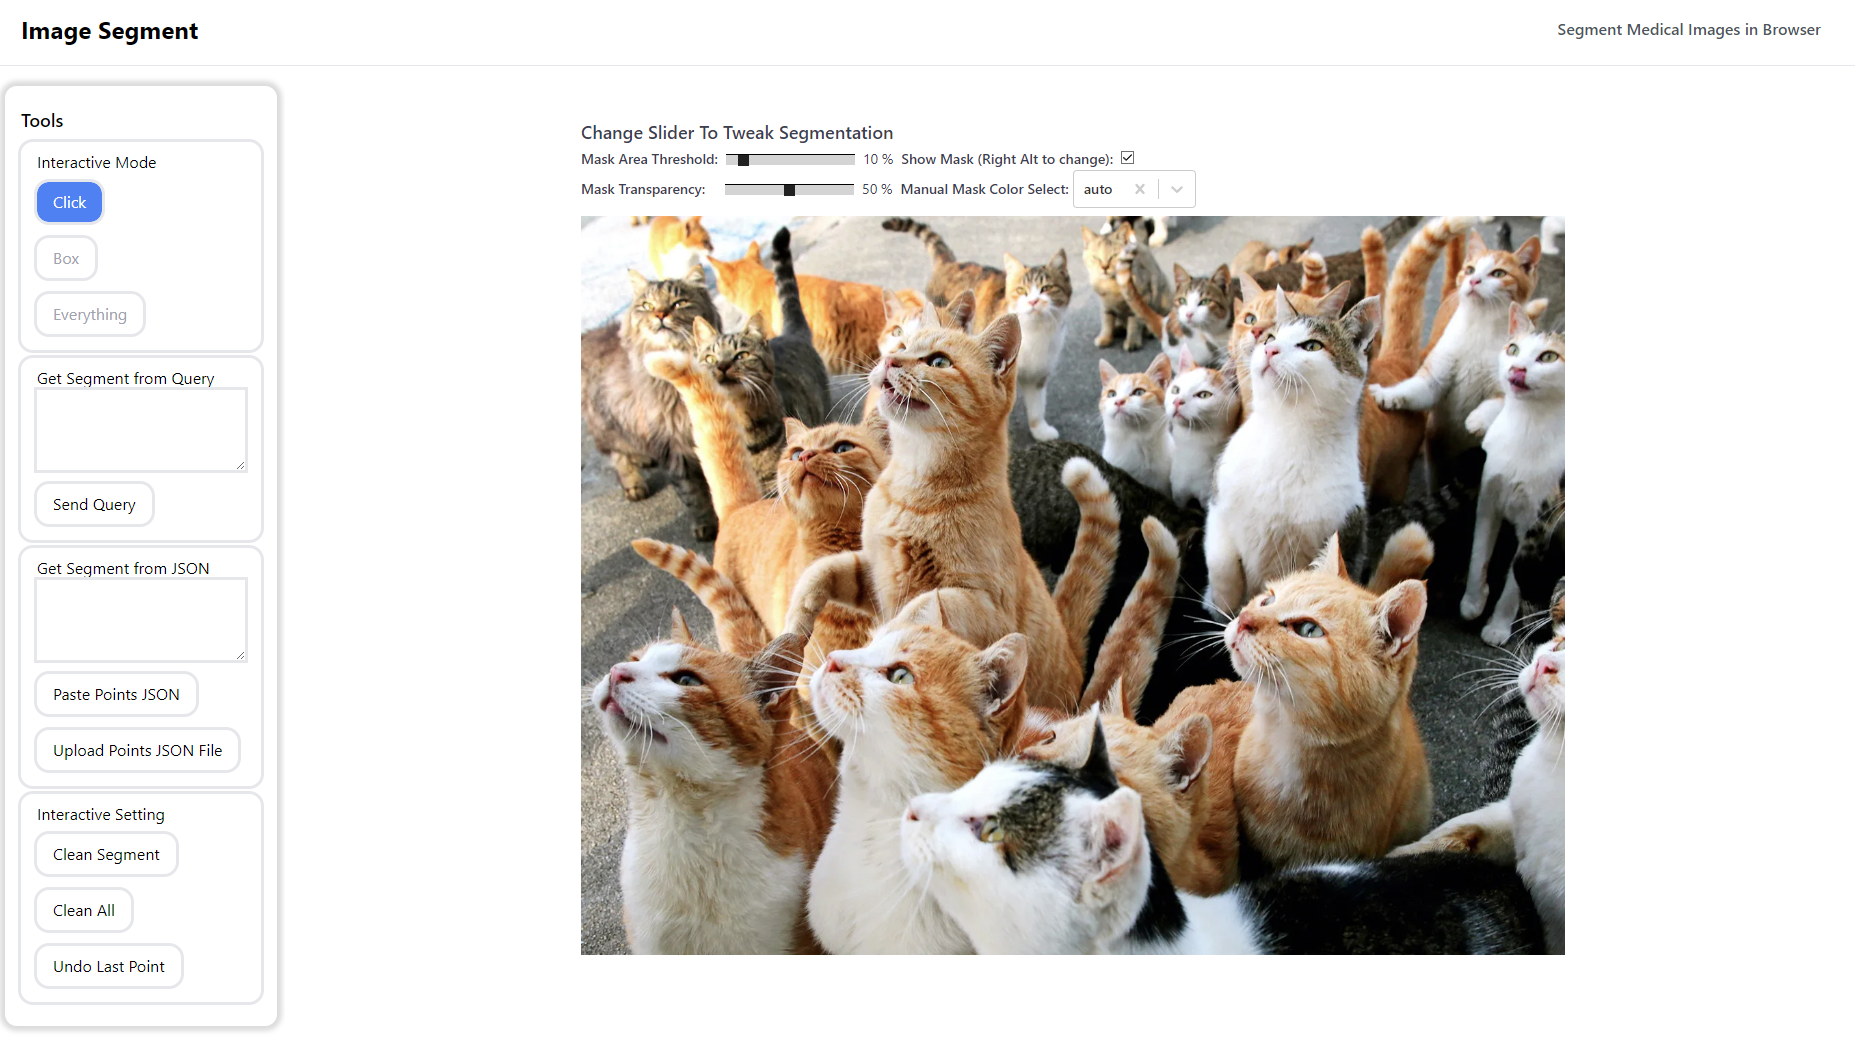
Mask Area Threshold: when a segmentation is returned by the server, the Mask Area Threshold slider interpolates this information to render the mask. We have the default value set to 10, however, there is no one size fits all value. If you are attempting to segment larger areas, you will likely need to choose a higher threshold, otherwise your mask may be particularly messy and inaccurate.
Show Mask: this temporarily disables the masks which are projected on top of the image. You can check the box, or use the default key binding of Right Alt.
Mask Transparency: this slider affects how transparent a mask is to allow for adjustment for visibility on a variety of images.
Manual Mask Color Select: this dropdown box contains a list of pre-configured color options for the segmentations projected onto the image. As with the transparency slide, this was included to allow for you to select colors which make it easier to see the segmentations on a variety of images. The auto option offers a grey-transparent overlay created by reading the colors in an image.
Under The Tools Section We Have:
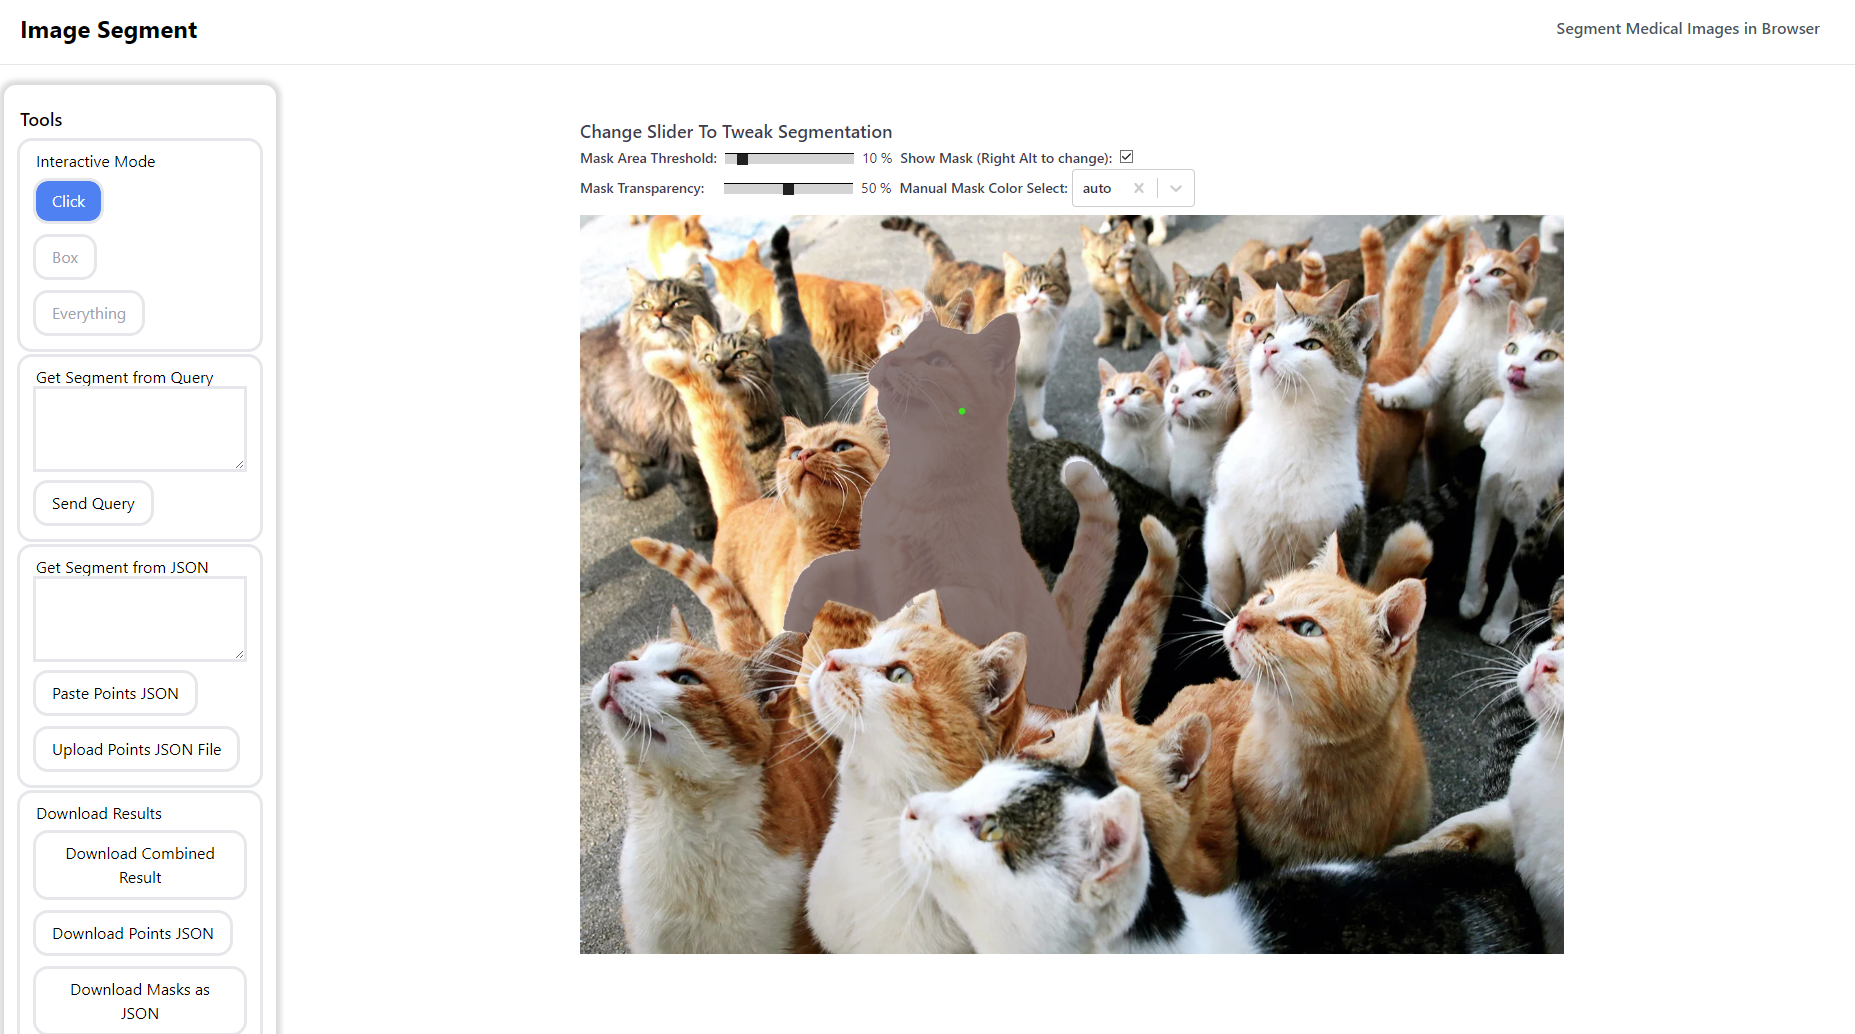
Click: this method allows you to left click to place a positive point, or right click to place a negative one. These points are used to calibrate segmentations based on your chosen area of interest in the image. Using a mixture of both point types can help refine the segmentation and create a high-quality mask, as well as provide valuable training input.
Box: this method allows you to drag a box over an area of interest which is then used to create a segmentation.
Everything: this method segments the entire image, pulling as many objects out of the image as it can find. It is the goal of training models to improve this functionality for a variety of images.
Get Segmentation from Query: this method uses the OpenAI’s CLIP repository to allow for the segmentation of an image based on a text prompt. This is another instance of a feature which needs improvement for use in medical images, but works well on general image types.
Get Segmentation from JSON: this method allows you to paste a properly formatted JSON object containing points on the image in order to generate a segmentation. As we can save a JSON file containing the points from a given segmentation session, we can use this as a sort of checkpoint, or for comparison across multiple models.
Upload Points JSON File: this method is functionally the same as the above method, although you can upload a file instead of copy-pasting.
Clean Segment: removes all control points and masks from image.
Clean All: removes all control points, masks, and removes the uploaded image, essentially refreshing the page.
Undo Last Point: this button removes the last point and returns to the previous segmentation state.
Once A Point Has Been Selected
Once we’ve placed a point on the image, the point will be sent to the server to generate a segmentation which will be returned to the front-end and projected into a mask on the image.
New Options In The Tools Section After Selecting A Point:
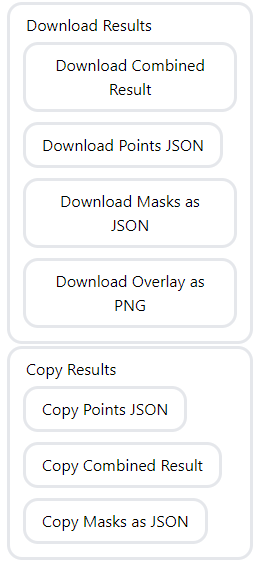
Download Combined Result: this allows us to download a large conglomerate JSON file which contains the encoded masks and points.
Download Points JSON: this allows us to download a JSON object containing the points you have placed on the image. This can be used to regenerate the masks you created during the session by uploading the JSON object or copy-pasting its contents.
Download Masks as JSON: this downloads a JSON object which contains the encoded masks. This information is meaningless to the human eye, but can be translated into a black and white image showing the segmented area of an image.
Download Overlay as PNG: this uses the encoded masks stored in the site to generate a black and white mask which is saved to the server and can be used for comparing results from different model checkpoints.
Copy Points JSON: allows you to copy the properly formatted JSON object that contains the points you’ve placed on the image. This can be pasted later to regenerate the points and mask of this current session.
Copy Combined Result: this allows you to copy the Combined Result JSON instead of downloading it.
Copy Masks JSON: this allows you to copy the Masks JSON rather than downloading it.
Video Demos
Breast Scan Demo
This demo shows uploading a file of a breast scan and selecting a mass found in the image. Additionally, it showcases the color transparency and change effects, as well as how the mask area threshold affects what is segmented. In it we see that the lower Mask Area Threshold improves the outcome.
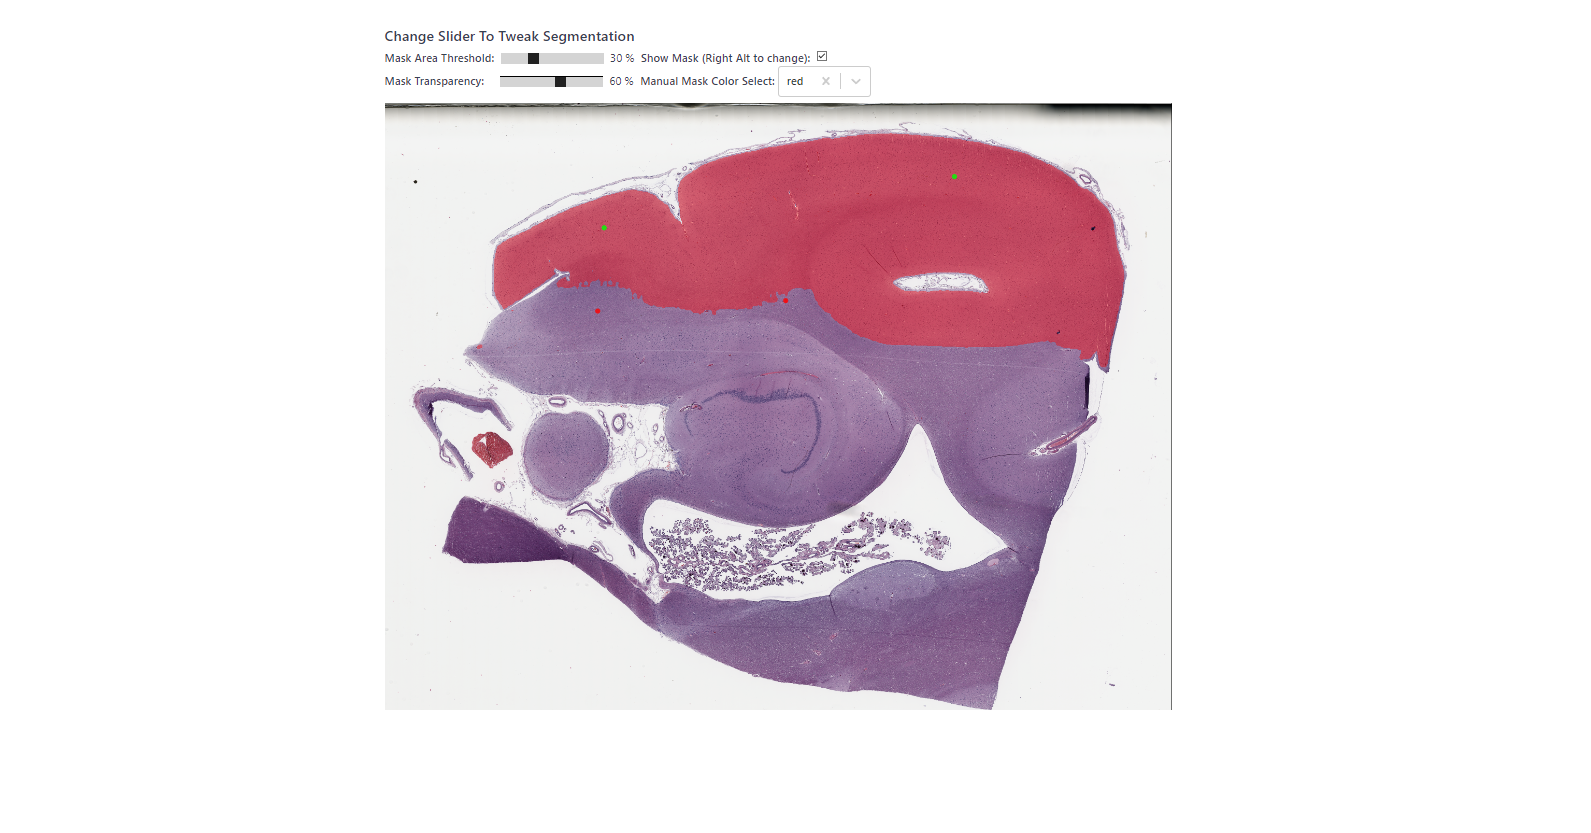
Hippocampus Scan Demo
This demo shows uploading a file of a hippocampus scan. Here we see that the mask area threshold needs to be raised in order for Segment Anything to be able to tell the difference between the white and grey matter found in the scan. It also requires a few more points in order to clean the mask up more.
Legend:
Green Points: “positive clicks.” These are placed by left clicking within the image. This tells Segment Anything to create a segmentation based around that control point.
Red Points: “negative clicks.” These are placed by right clicking within the image. If there are incorrect segmentations, or a segmentation area is simply too large, these control points will remove incorrect segmentations or refine existing ones.